")
This Months Pin Up Girl (December 2009)
Model: Dayna Delux Continue reading This Months Pin Up Girl (December 2009)
Model: Dayna Delux Continue reading This Months Pin Up Girl (December 2009)

Since the last time I checked in here, we have been swamped. We have started re-wiring the car and installed the new heater / AC setup from Southern Air. We installed a new electric windshield wiper motor from Newport Engineering. Shaved the doors and the trunk and installed new solenoids. We added new gauges and established a Captain Morgan bottle as our washer fluid bottle. One of the most significant projects was designing and building the bracket for the AC compressor. We also added the AC / Heat switches to the dash panel. Below are a few pics. Continue reading Its Been A While

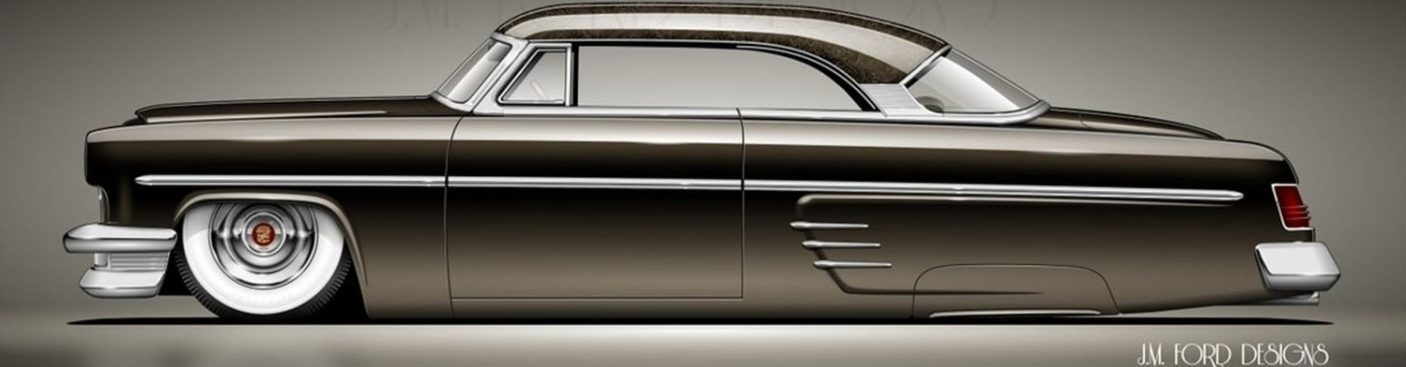
1954 Mercury Woodie Monterey 4-door 8 passenger station wagon. Highlights of model year was new overhead valve “Y-Block” eight replacing Ford’s venerable flathead eight. Ball joint suspension was also new. 11,656 were produced. The wagon has been garaged for the last 20 years still has the y-block, but no tranny. There is rust in the normal places drop me a line if interested. $1500.00 Continue reading 1954 Mercury Woodie Monterey 4-door 8 passenger station wagon for sale
")
Model: Candace Campbell Continue reading This Months Pin Up Girl (November 2009)

NEW Ford 302 / 347 Stroker Crankshaft 3.400″ stroke Cast crankshaft good for up to 700hp. $125.00 SOLD 2002 LS1 BARE Block casting number 12559378 The bore on the block is standard and I do have the main caps. $350.00 Studebaker 289 “President” Block & Crankshaft – Casting number on the block is 535601 it also has the following numbers on the block as well P88850. This is a standard bore block. I also have the crankshaft with the block and two rods in pistons are still in it. This is not a complete short block. I will put the … Continue reading For Sale
")
Model: Anne Lindfjeld A.K.A Candylac Continue reading This Months Pin Up Girl (October 2009)

Today was a good morning we start around 9:30 and worked on getting the car ready to fire. First thing we did was finish wiring the car up, next we removed all of the spark plugs and turned the motor over to get the oil pressure up. Once that was finished up we started getting the plug wires on and the # 1 cylinder up. Noticed we need some new points ( Idiots at the part stores! Are there no real parts people anymore?) I had to go around the corner and look up my parts in the catalog, because … Continue reading Frenching The License Plate
")
Model: Sabina Kelley Continue reading This Months Pin Up Girl ( September 2009 )

I found a new gas tank for the Merc………….. well, not really. This tank is for a 56 Ford, but the new 54 tanks were outrageous in price. It all works out in the end. The back of the car where the gas tank snout comes out has some rust, and we need to do some work to smooth things out. So we decided to take this beautiful new tank and cut the snout off. Then we welded it shut and relocated the filler neck. Now I can bring the channel up inside the trunk. This way, I can lay … Continue reading Pain in the GAS!
